How to Start Riding Hunter Jumpers (Without Making Costly Mistakes)
Wondering how to get started with hunter jumpers? Discover the essential steps, from finding a trainer to your first schooling show.
- What Exactly is Hunter Jumpers?
- Do I Need My Own Horse?
- Step 1: Find the Right Barn and Trainer
- Step 2: Build Your Foundation on the Flat
- Step 3: Learn the Two-Point and Basic Jumping Position
- Step 4: Start Over Ground Poles and Crossrails
- Step 5: Understand the Gear
- Step 6: Consider Your First Horse Show
- Step 7: Know What “Levels” Mean
- A Note on Cost
- The Bottom Line
Hunter jumpers is one of the most popular disciplines in English riding. It brings together athleticism, precision, and a true partnership between horse and rider.
Whether you love the polished, elegant feel of the hunter ring or the thrill of jumping against the clock, getting started is more approachable than you might think. You don’t need to own a horse, have years of riding experience, or make a huge investment right away.
With the right barn, a supportive trainer, and a willingness to build your skills from the ground up, you can learn the sport one step at a time.
Here’s how to get started.
What Exactly Is Hunter Jumpers?
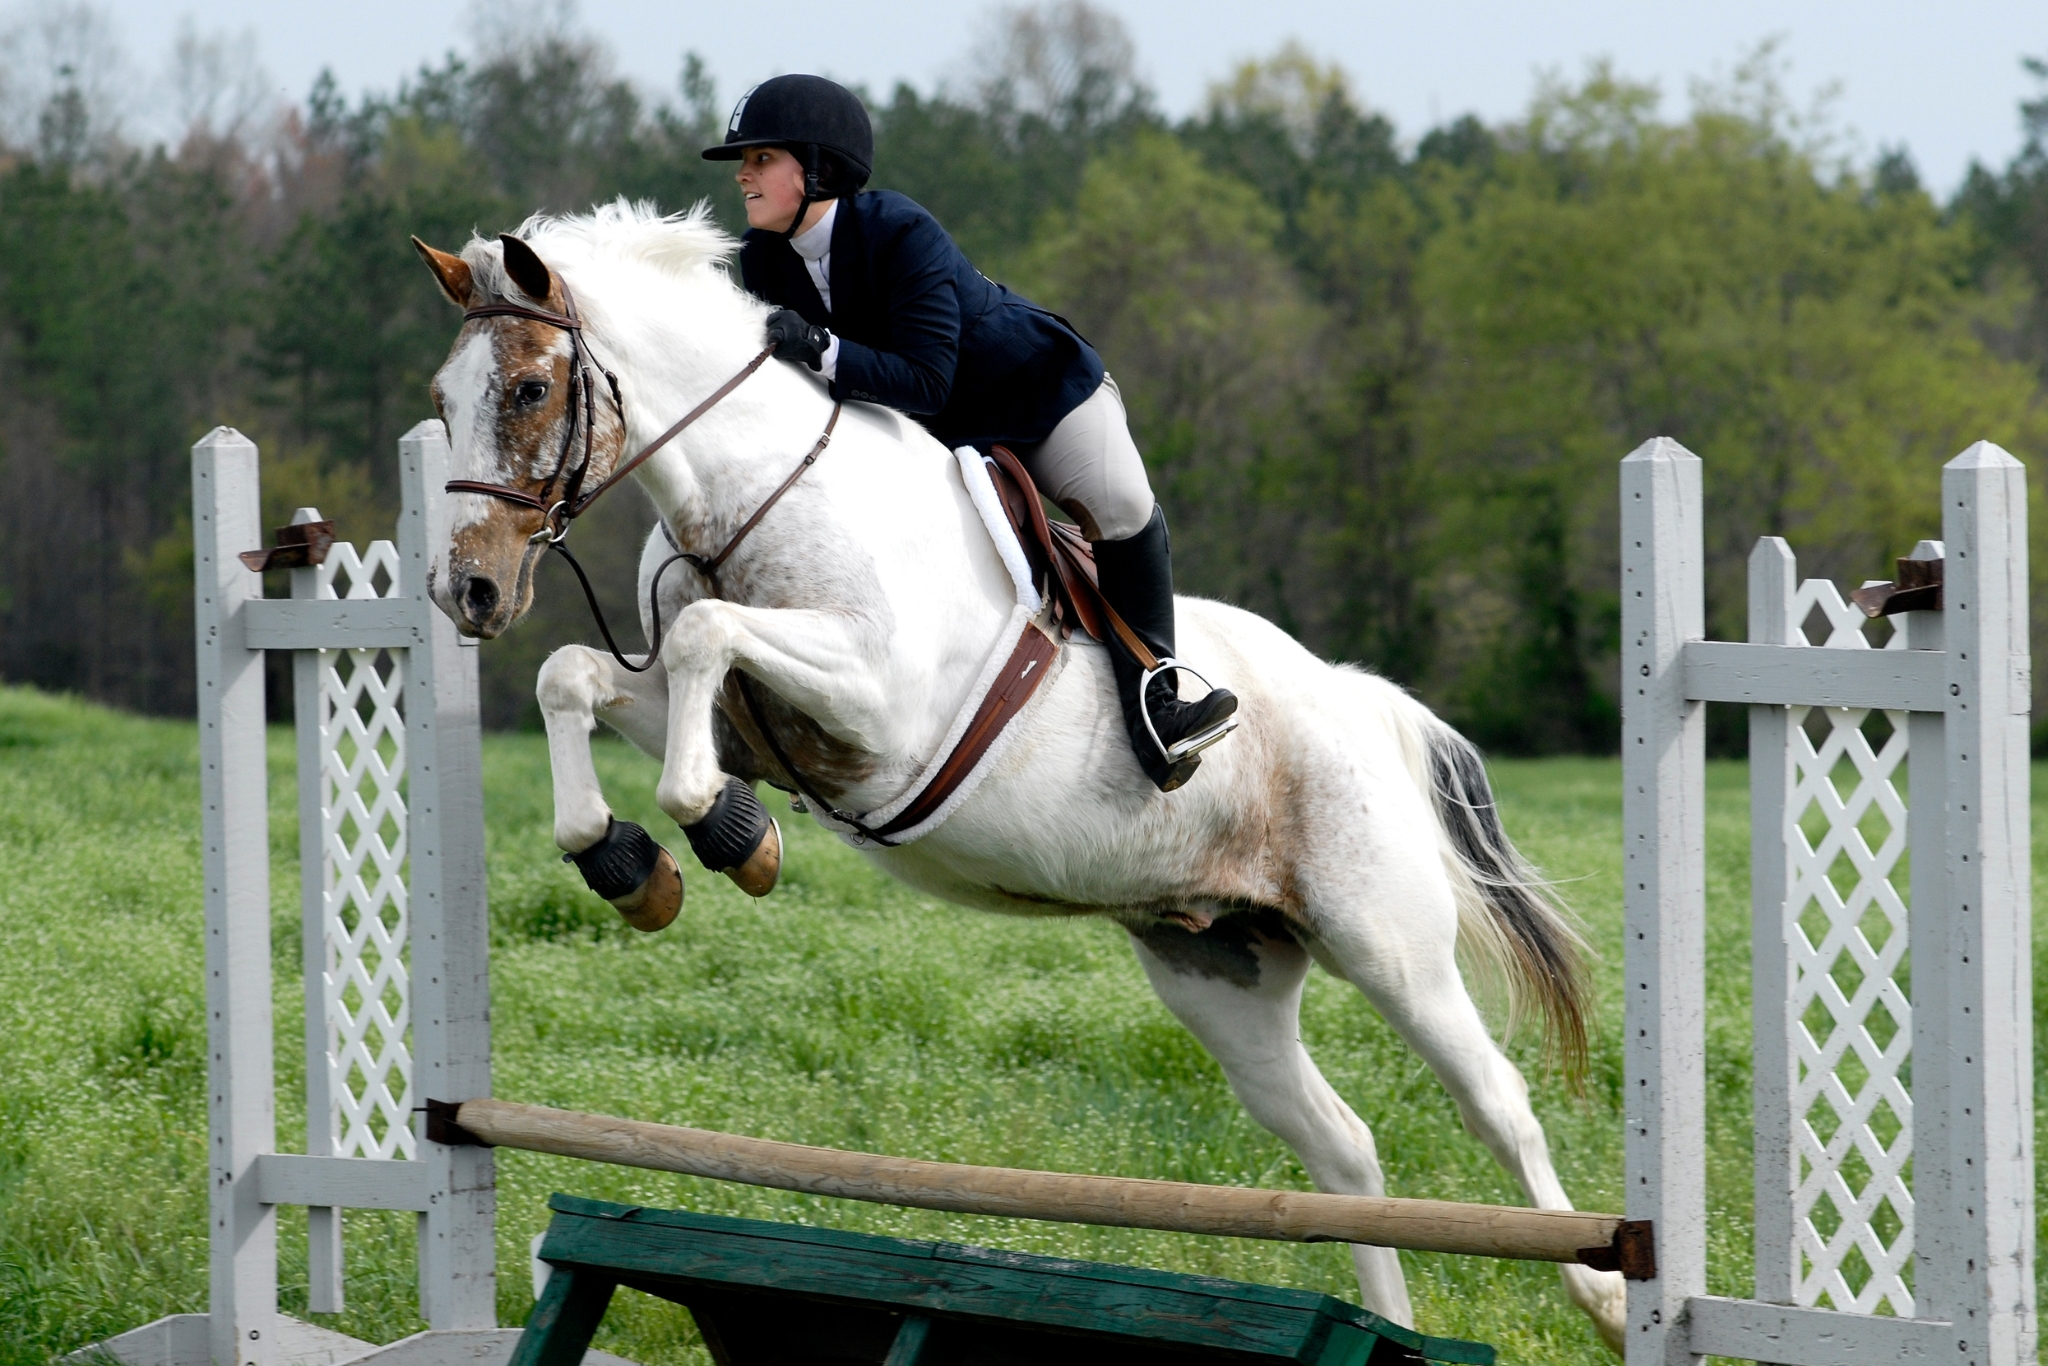
“Hunter jumper” is actually an umbrella term for two related but distinct disciplines: hunters and jumpers.
Hunters are all about style, form, and smoothness. Judges look at how polished and effortless the entire round appears—from the horse’s jumping style and steady pace to the rider’s position and quiet hands. The goal is to make a technically challenging course look smooth and easy, almost like the dressage of jumping.
Jumpers on the other hand, are much more straightforward. The focus is on getting around the course cleanly and within the time allowed. Knocking down a rail, refusing a fence, or going over the time limit adds faults. When your ridging jumpers, style isn’t really the point—speed, accuracy, and a clear round are what matter.
Many riders end up doing both, especially when they’re starting out. The foundational skills overlap quite a bit, so learning one discipline can help you build confidence and prepare for the other.
Do I need my own horse?
No—and in most cases, it’s actually better not to start with your own horse. Most hunter jumper riders begin with lessons at a local barn where they can ride horses that are experienced, patient, and comfortable teaching beginners the fundamentals.
Lesson horses help you build the skills you’ll need, from finding your rhythm and balance to learning how to approach a fence and find the right distance.
Buying a horse before you have enough experience to evaluate one can also become a very expensive mistake. Give yourself 6 months to a year of consistent lessons before you even start thinking about buying. By then, you’ll have a much better idea of what kind of horse is right for you—and you’ll be in a much better position to make a smart decision.
Step 1 Find the Right Barn and Trainer
Your trainer can shape your entire experience with the sport, so finding the right one is one of the most important decisions you’ll make when you’re starting out.
When you’re looking for a barn, keep an eye out for one that:
- Has plenty of experience teaching beginners, not just training advanced competitors
- Has well trained lesson horses that match your experience level
- Focuses on flatwork and a solid riding position before introducing jumping
- Has a trainer who explains things clearly and puts safety ahead of rushing your progress
Don’t be afraid to visit a few barns before deciding. Watch a lesson, talk to the trainer, and ask questions about how they work with new riders. A good trainer will be happy to have that conversation with you!
Step 2 Build Your Foundation on the Flat
Before you ever ride toward a fence, you’ll spend plenty of time working on your flatwork. This is where you’ll build a secure independent seat, learn how to steer and control your pace, and get a feel for your horse’s rhythm.
It might not be the most exciting part of learning to jump, but it’s one of the most important. A rider who has a solid position and can confidently control their horse’s pace will progress faster—and more safely—once jumping comes into the picture.
How long this takes varies from rider to rider. You might spend a few weeks building these basics, or it could take a few months depending on your experience, athletic background, and how often you ride.
Step 3 Learn the Two Point and Basic Jumping Position
One of the key parts of hunter jumper riding is the forward seat, often called the “two-point” position.
Instead of sitting fully in the saddle, you’ll hover slightly above it, keeping your weight down through your heels and letting your hips move with your horse.
This position helps you stay balanced and follow your horse’s movement over a fence without getting thrown forward, left behind, or accidentally pulling on the reins.
You’ll spend plenty of time practicing two-point before you ever start jumping. Your trainer will probably introduce it at the halt and walk first, then have you work on it at the trot and canter as your balance and confidence improve.
Step 4 Start Over Ground Poles and Crossrails
Once your position is feeling solid, you’ll start working over ground poles (poles laid flat on the ground) and eventually move on to small crossrails, which are the lowest and most forgiving type of fence.
This is where you’ll start learning some of the most important jumping skills, including:
- Finding and maintaining a steady rhythm and pace
- Learning how to find the right “distance” or takeoff spot
- Staying balanced and centered as your horse goes over the fence
There’s no need to rush this part. It’s completely normal to spend a few months working on these skills. This is where you’re building the confidence, balance, and instincts that will make everything else feel easier as you progress.
Step 5 Understand the Gear
You don’t need to buy the most expensive gear to get started, but there are a few essentials worth having for safety and comfort:
- ASTM/SEI certified helmet: This is non-negotiable! Always wear a properly fitted riding helmet when you’re riding.
- Tall boots or paddock boots with half chaps: These give you a secure, consistent feel through your leg.
- Breeches: Riding breeches help with grip and prevent uncomfortable chafing.
- Gloves: They give you a better grip on the reins while protecting your hands.
- Body protector or air vest: Optional, but increasingly popular, especially once you start jumping.
And there’s no need to buy everything right away. Your barn or trainer can usually recommend a local tack shop, and some barns may even have gear you can borrow or rent when you’re starting out. Start with the essentials and build up your riding gear as you go.
Step 6 Consider Your First Horse Show
Once you’re comfortable jumping small courses at home, your trainer may suggest trying a schooling show. These are low key and low pressure competitions that are a great way to get your first taste of showing. The fences are usually smaller, the atmosphere is more relaxed, and there are classes specifically for beginner riders.
You don’t have to compete to enjoy hunter jumpers, but showing can be a fun way to challenge yourself and see how your skills hold up in a new environment. It’s also a great opportunity to learn how competitions work and get a better feel for what judges are looking for.
Step 7 Know What “Levels” Mean
As you progress, you’ll hear about different jump heights, starting with cross-rails and moving up to 2’0″, 2’3″, 2’6″, and beyond. Your trainer can help you decide when you’re ready to move up based on your skills, balance, and confidence—not simply by how high you want to jump.
Moving up too quickly can be a fast track to losing confidence, and it can also increase the risk of injury. There’s no prize for rushing the process, so focus on feeling comfortable and confident at each level before moving on to the next.
A Note on Cost
Hunter jumpers isn’t the cheapest sport, so it’s worth knowing what you’re getting into financially. Between lesson fees, show costs, coaching at competitions, and eventually the expenses that come with owning a horse (purchase price, boarding, vet care, farrier visits, and tack) the costs can can add up quickly.
You also don’t need to own a horse to be involved in the sport. Many riders take lessons for years before buying, and that’s completely normal. Starting with lessons until you’re ready for the financial commitment of horse ownership can be a smart way to build your skills while making sure you’re ready for that next step.
The Bottom Line
Hunter jumpers is a sport where patience really pays off. The riders who progress the most aren’t necessarily the ones rushing to jump bigger fences. They’re the ones who take the time to build a strong foundation on the flat and let their skills develop naturally.
So don’t be afraid to take it slow when you’re starting out. Every experienced rider had to start somewhere—even if that meant riding a lesson pony and trotting over a single ground pole.